10 Techniques for Cinematic Video Production
If you’ve ever dreamed of producing a video that feels more like a movie, you can begin working toward that dream today. In this post, I’ve listed 10 techniques for more cinematic video production.
By the end of this post, you’ll be able to point your camera at anything with purpose. You’ll be able to make a plan to create and make a lasting impression on your audience.
10 Ways to Make Your Videos Feel Like a Movie
I generated this list based on my Content Incubator Course, so if you’re interested in learning through a more personalized experience, please sign up for the course here.
Each technique in this list builds upon the previous one. Accomplish them in order and practice each one with your camera. By the fourth technique, you’ll realize that you are already combining concepts to create more cinematic videos.
1. Start with an Establishing Shot
Establishing a location and time, is an easy technique to add to your video production. Simply point the camera at the environment where the action is taking place. Get a shot that gives all the details of time and place.
2. Cut on Action
If you want to use multiple camera angles to tell a story or witness an event you’ll need to film repeated actions and edit them together. First, point your camera at an action taking place and hit record. Next, attempt to record the same action multiple times from different angles or focal lengths. Finally, in editing, you’ll cut these multiple shots of the same action together right on the motion of the action. This simple technique can make a regular moment feel just like a real movie.
3. Utilize Montage with an Intro Sequence
A “montage” is simply a lot of pictures or videos edited together. You would plan to use this technique If you need to squeeze a lot of audio-visual information into a short space. Naturally, because there is more information in a shorter time, you will need to cut together images in a quicker fashion. You can use music to feel the rhythm of how to get the right pace for your montage. Or, you can look for common threads that, through juxtoposition will help to make your message more powerful.
4. Set-up a Hero Shot
Imagine that the subject in front of the camera (whether it is a person or object) is the hero of whatever environment they occupy. Similar to the first technique (the establishing shot), we simply need to point the camera at our subject and frame them up to look like they are in charge and in control of the situation around them. Get creative. This can be a staged portrait style shot.
5. Consider Screen Direction
Although, the concept of screen direction may seem a bit abstract, when you are utlizing the second technique in this series (to change camera angles or focal lengths on action) or you are frequently changing camera angles in a conversation or action sequence (see below), you will need to be concious of screen direction.
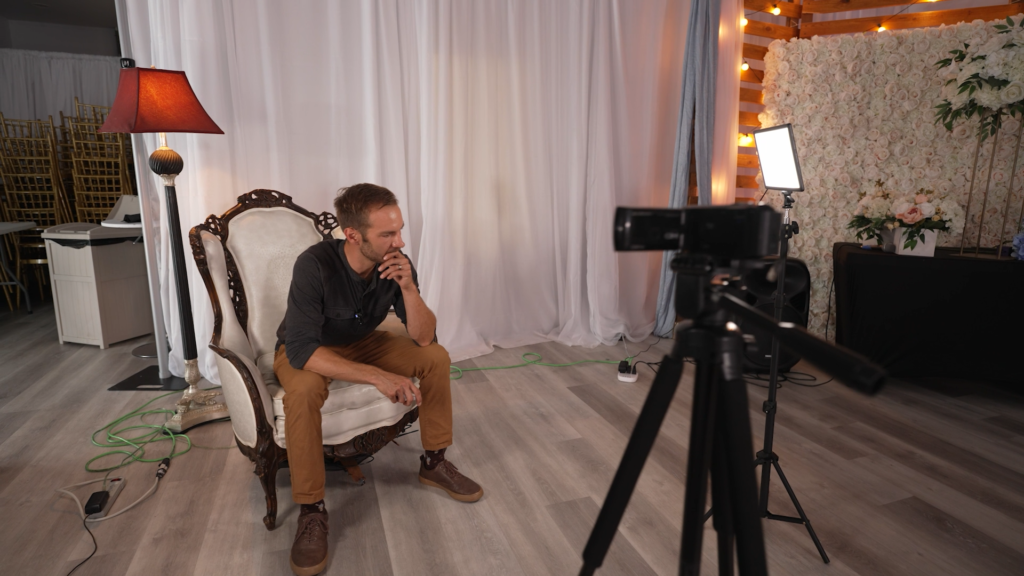
6. Utilize Optimal Light Conditions
Even if you don’t have a professional camera or lighting set-up, you should look for optimal lighting whenever possible. Put your subject in front of a bright window. Film your outdoor scene just after the sun dips below the horizon which is also called magic hour.
If you do have a professional camera where you can control the shutter speed, aperature and ISO, then you’ll want to learn how light affects all of these parameters. Take the next Content Incubator Course to level up your camera game.
7. Film a conversation
Filming a conversation is a pretty simple addition to any video production. This is an alternative to someone talking directly into the camera. Instead, the subject would be talking to someone in the scene, on- or off-screen.
Film a conversation between two people where both people appear on screen. You can accomplish this scene by cutting between the two people individually in an over the shoulder style shot, or even a point-of-view shot. Even easier is the “two-shot” where both people are on screen at the same time.
In any case, when filming a conversation, plan on cutting around key moments with reaction shots and b-roll of relevant nearby things or actions. An example of b-roll in this case might be a close-up on someone’s fidgety hands.
8. Resolve a conflict
Solve a problem on screen by having one of your subjects voice their obstacle, demonstrate their struggle and then come to a realization. Resolving a conflict on screen doesn’t always end in harmony, but it does usually end with closure of some sort. In a business marketing video, this could equate to your product being the solution.
9. Use Voice Over Narration
Tell a much bigger story by scripting the voice from an all-seeing eye who can be in any place at once. When recording voiceover, I strongly recommend using a script or outline. Before recording, check your script with a reliable friend, partner or creative advisor. It is ok to record more than you need, but if you’re not sure about editing audio, you should do most of your editing during the writing phase and record only the essential audio.
Most people write scripts that are too wordy or too “on the nose.” You don’t need to say everything in voiceover because with video, you can easily show something and let the audience draw their own conclusion.
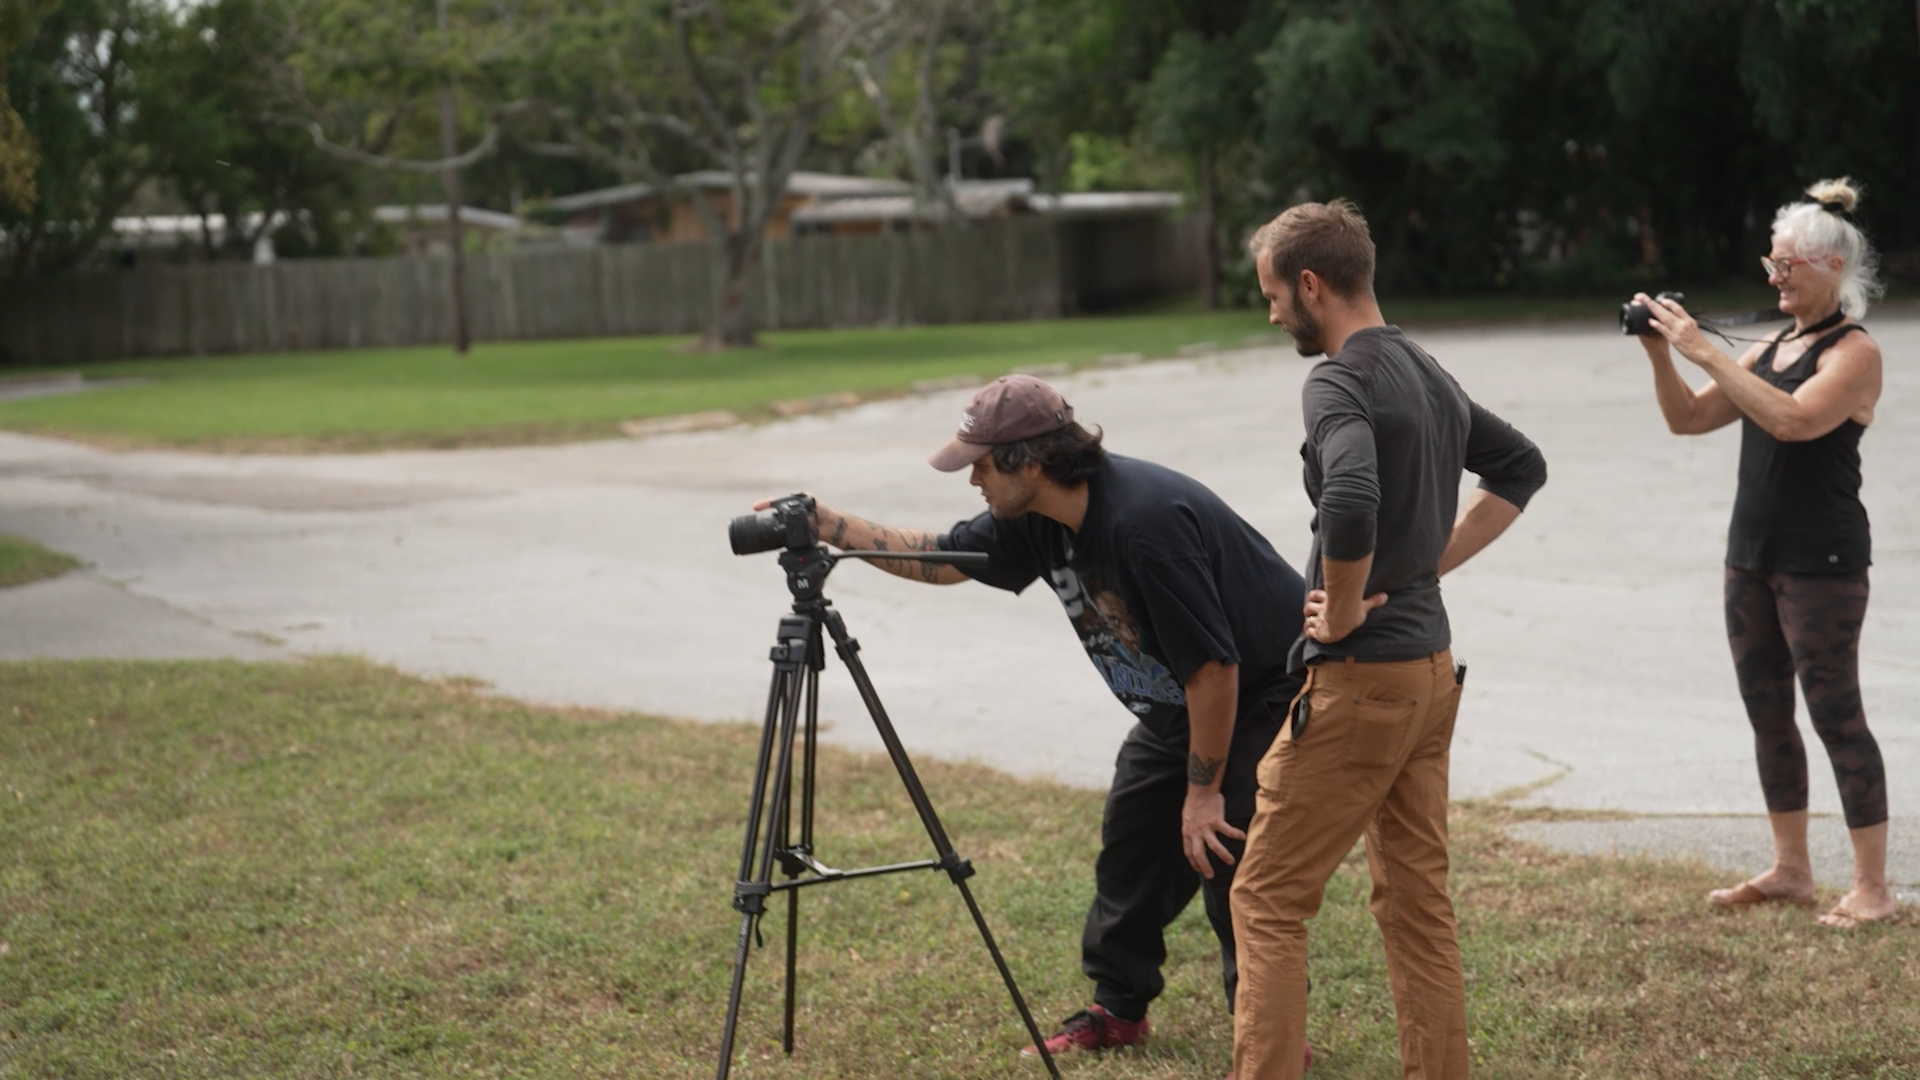
10. Collaborate with a Team
If you’ve ever stuck around for the credits at a movie, you know that to make cinema possible, it takes more than one person. There are tons of reasons why videos are better when produced by a team rather than an individual, but probably the most important, is so that you can get constructive feedback.
Your Unique Approach
This lesson series is meant to help the average person, the entrepeneur, the business owner, the family member, the student, the artist, to utilize video production to reach their goals. It is a loose series of lessons, open to interpretation and experimentation. This framework allows for individuality to shine in the videos.
Looking for a Production Team?
In this lesson series, each section builds upon the previous one, so if you’ve made it this far, you are now ready to collaborate. Find a team that will help you make the videos which get the results you wish to achieve. If you need a team, please don’t hestiate to contact me to get started.